
安装
undefined
brew install jenv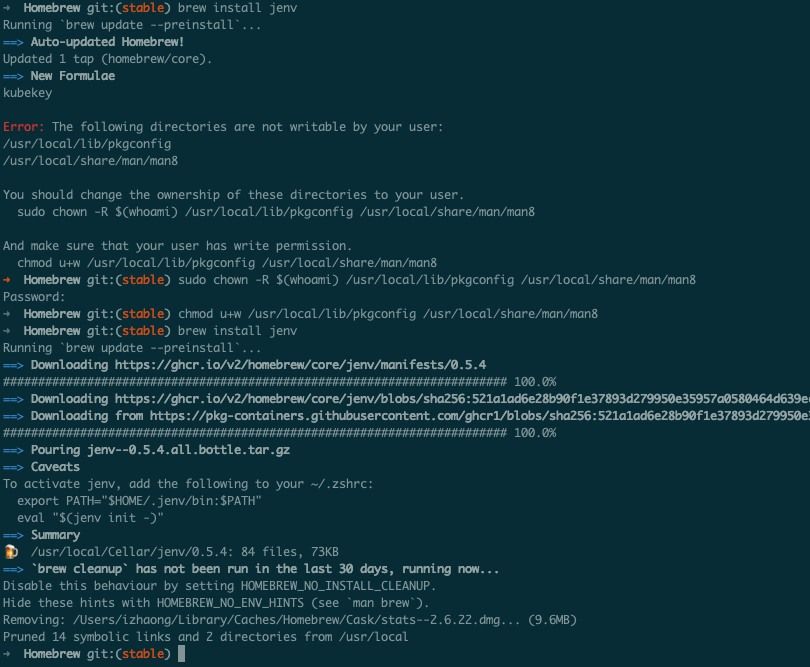
shell
➜  Homebrew git:(stable) brew install jenv
Running `brew update --preinstall`...
==> Auto-updated Homebrew!
Updated 1 tap (homebrew/core).
==> New Formulae
kubekey

Error: The following directories are not writable by your user:
/usr/local/lib/pkgconfig
/usr/local/share/man/man8

You should change the ownership of these directories to your user.
  sudo chown -R $(whoami) /usr/local/lib/pkgconfig /usr/local/share/man/man8

And make sure that your user has write permission.
  chmod u+w /usr/local/lib/pkgconfig /usr/local/share/man/man8
➜  Homebrew git:(stable) sudo chown -R $(whoami) /usr/local/lib/pkgconfig /usr/local/share/man/man8
Password:
➜  Homebrew git:(stable) chmod u+w /usr/local/lib/pkgconfig /usr/local/share/man/man8
➜  Homebrew git:(stable) brew install jenv
Running `brew update --preinstall`...
==> Downloading https://ghcr.io/v2/homebrew/core/jenv/manifests/0.5.4
######################################################################## 100.0%
==> Downloading https://ghcr.io/v2/homebrew/core/jenv/blobs/sha256:521a1ad6e28b90f1e37893d279950e35957a0580464d639ec74c398f8da6d466
==> Downloading from https://pkg-containers.githubusercontent.com/ghcr1/blobs/sha256:521a1ad6e28b90f1e37893d279950e35957a0580464d639ec74c398f8da6d466?se=2022-03-15T09%3A55%3A00Z&sig=i4RshcszFYJbg8upDLUjD%2FmuzZb1RrgB
######################################################################## 100.0%
==> Pouring jenv--0.5.4.all.bottle.tar.gz
==> Caveats
To activate jenv, add the following to your ~/.zshrc:
  export PATH="$HOME/.jenv/bin:$PATH"
  eval "$(jenv init -)"
==> Summary
🍺  /usr/local/Cellar/jenv/0.5.4: 84 files, 73KB
==> `brew cleanup` has not been run in the last 30 days, running now...
Disable this behaviour by setting HOMEBREW_NO_INSTALL_CLEANUP.
Hide these hints with HOMEBREW_NO_ENV_HINTS (see `man brew`).
Removing: /Users/izhaong/Library/Caches/Homebrew/Cask/stats--2.6.22.dmg... (9.6MB)
Pruned 14 symbolic links and 2 directories from /usr/local输入jenv versions (如下就安装成功了)
undefined
➜  Homebrew git:(stable) jenv versions
* system (set by /Users/izhaong/.jenv/version)安装pkg包
安装后查看当前的包路径
/usr/libexec/java_home -V 此命令行可以罗列出电脑安装的所有版本的java
- shell
➜  JavaVirtualMachines /usr/libexec/java_home -V
Matching Java Virtual Machines (3):
    11.0.14 (x86_64) "Oracle Corporation" - "Java SE 11.0.14" /Library/Java/JavaVirtualMachines/jdk-11.0.14.jdk/Contents/Home
    1.8.311.11 (x86_64) "Oracle Corporation" - "Java" /Library/Internet Plug-Ins/JavaAppletPlugin.plugin/Contents/Home
    1.8.0_311 (x86_64) "Oracle Corporation" - "Java SE 8" /Library/Java/JavaVirtualMachines/jdk1.8.0_311.jdk/Contents/Home
/Library/Java/JavaVirtualMachines/jdk-11.0.14.jdk/Contents/Home
把JAVA添加到 jEnv中
jenv add /Library/Java/JavaVirtualMachines/JAVA_HOME
修改 .bash_profile 文件(手动版)
- 打开
.bash_profile文件
bash
# 创建.bash_profile文件,若已存在则忽略
touch ~/.bash_profile
# 打开.bash_profile文件,以文本编辑的方式编辑
open ~/.bash_profile- 编辑
.bash_profile文件
bash
# 设置 JDK 8
export JAVA_8_HOME="/Library/Java/JavaVirtualMachines/jdk1.8.0_311.jdk/Contents/Home"

# 设置 JDK 11
export JAVA_11_HOME="/Library/Java/JavaVirtualMachines/jdk-11.0.14.jdk/Contents/Home"

# 默认JDK 8
export JAVA_HOME=$JAVA_8_HOME

# alias命令动态切换JDK版本
alias jdk8="export JAVA_HOME=$JAVA_8_HOME"
alias jdk11="export JAVA_HOME=$JAVA_11_HOME"- 保存
.bash_profile文件,重启终端
bash
source .bash_profile